Your sysadmin comes to you and says “hey, let’s quit using the developmestruction environment, I set up this new test server we can test with instead.” Awesome. This is definitely a good thing for your development.
So you switch the URL your app is calling, but now you’re getting see this:
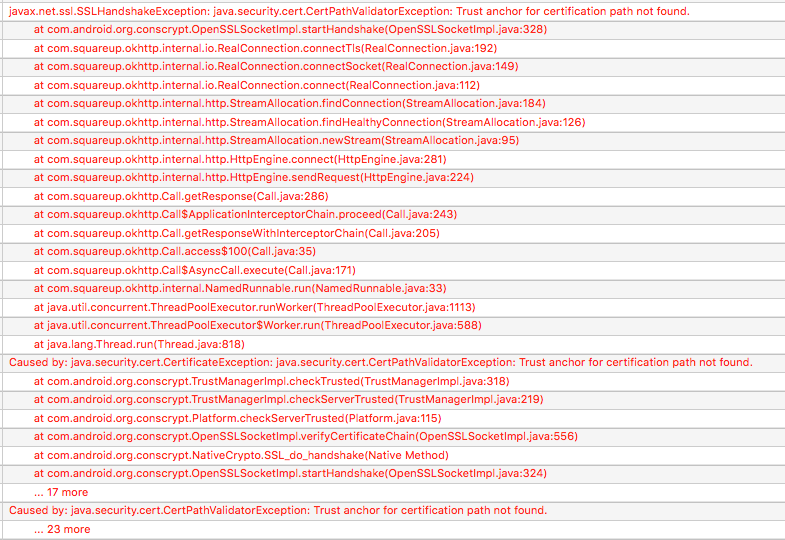
Why can’t you connect? Well, SSL certs cost time and money, so a lot of times in internal test and development environments you’ll see self-signed certificates. By default, OkHttp isn’t going to trust those, since they aren’t signed by a known, trusted Certificate Authority (CA).
At this point, you may find some StackOverflow answers suggesting that you make a dummy TrustManager that just blindly accepts any SSL certificate. Don’t do that. You may as well disable SSL at that point, because anybody can run a man-in-the-middle attack to read and/or manipulate your traffic. Seriously, just don’t. Even for your test environment.
The good news is, it’s just as easy to fix the right way by adding trust for your self-signed certificate. Here’s all it takes:
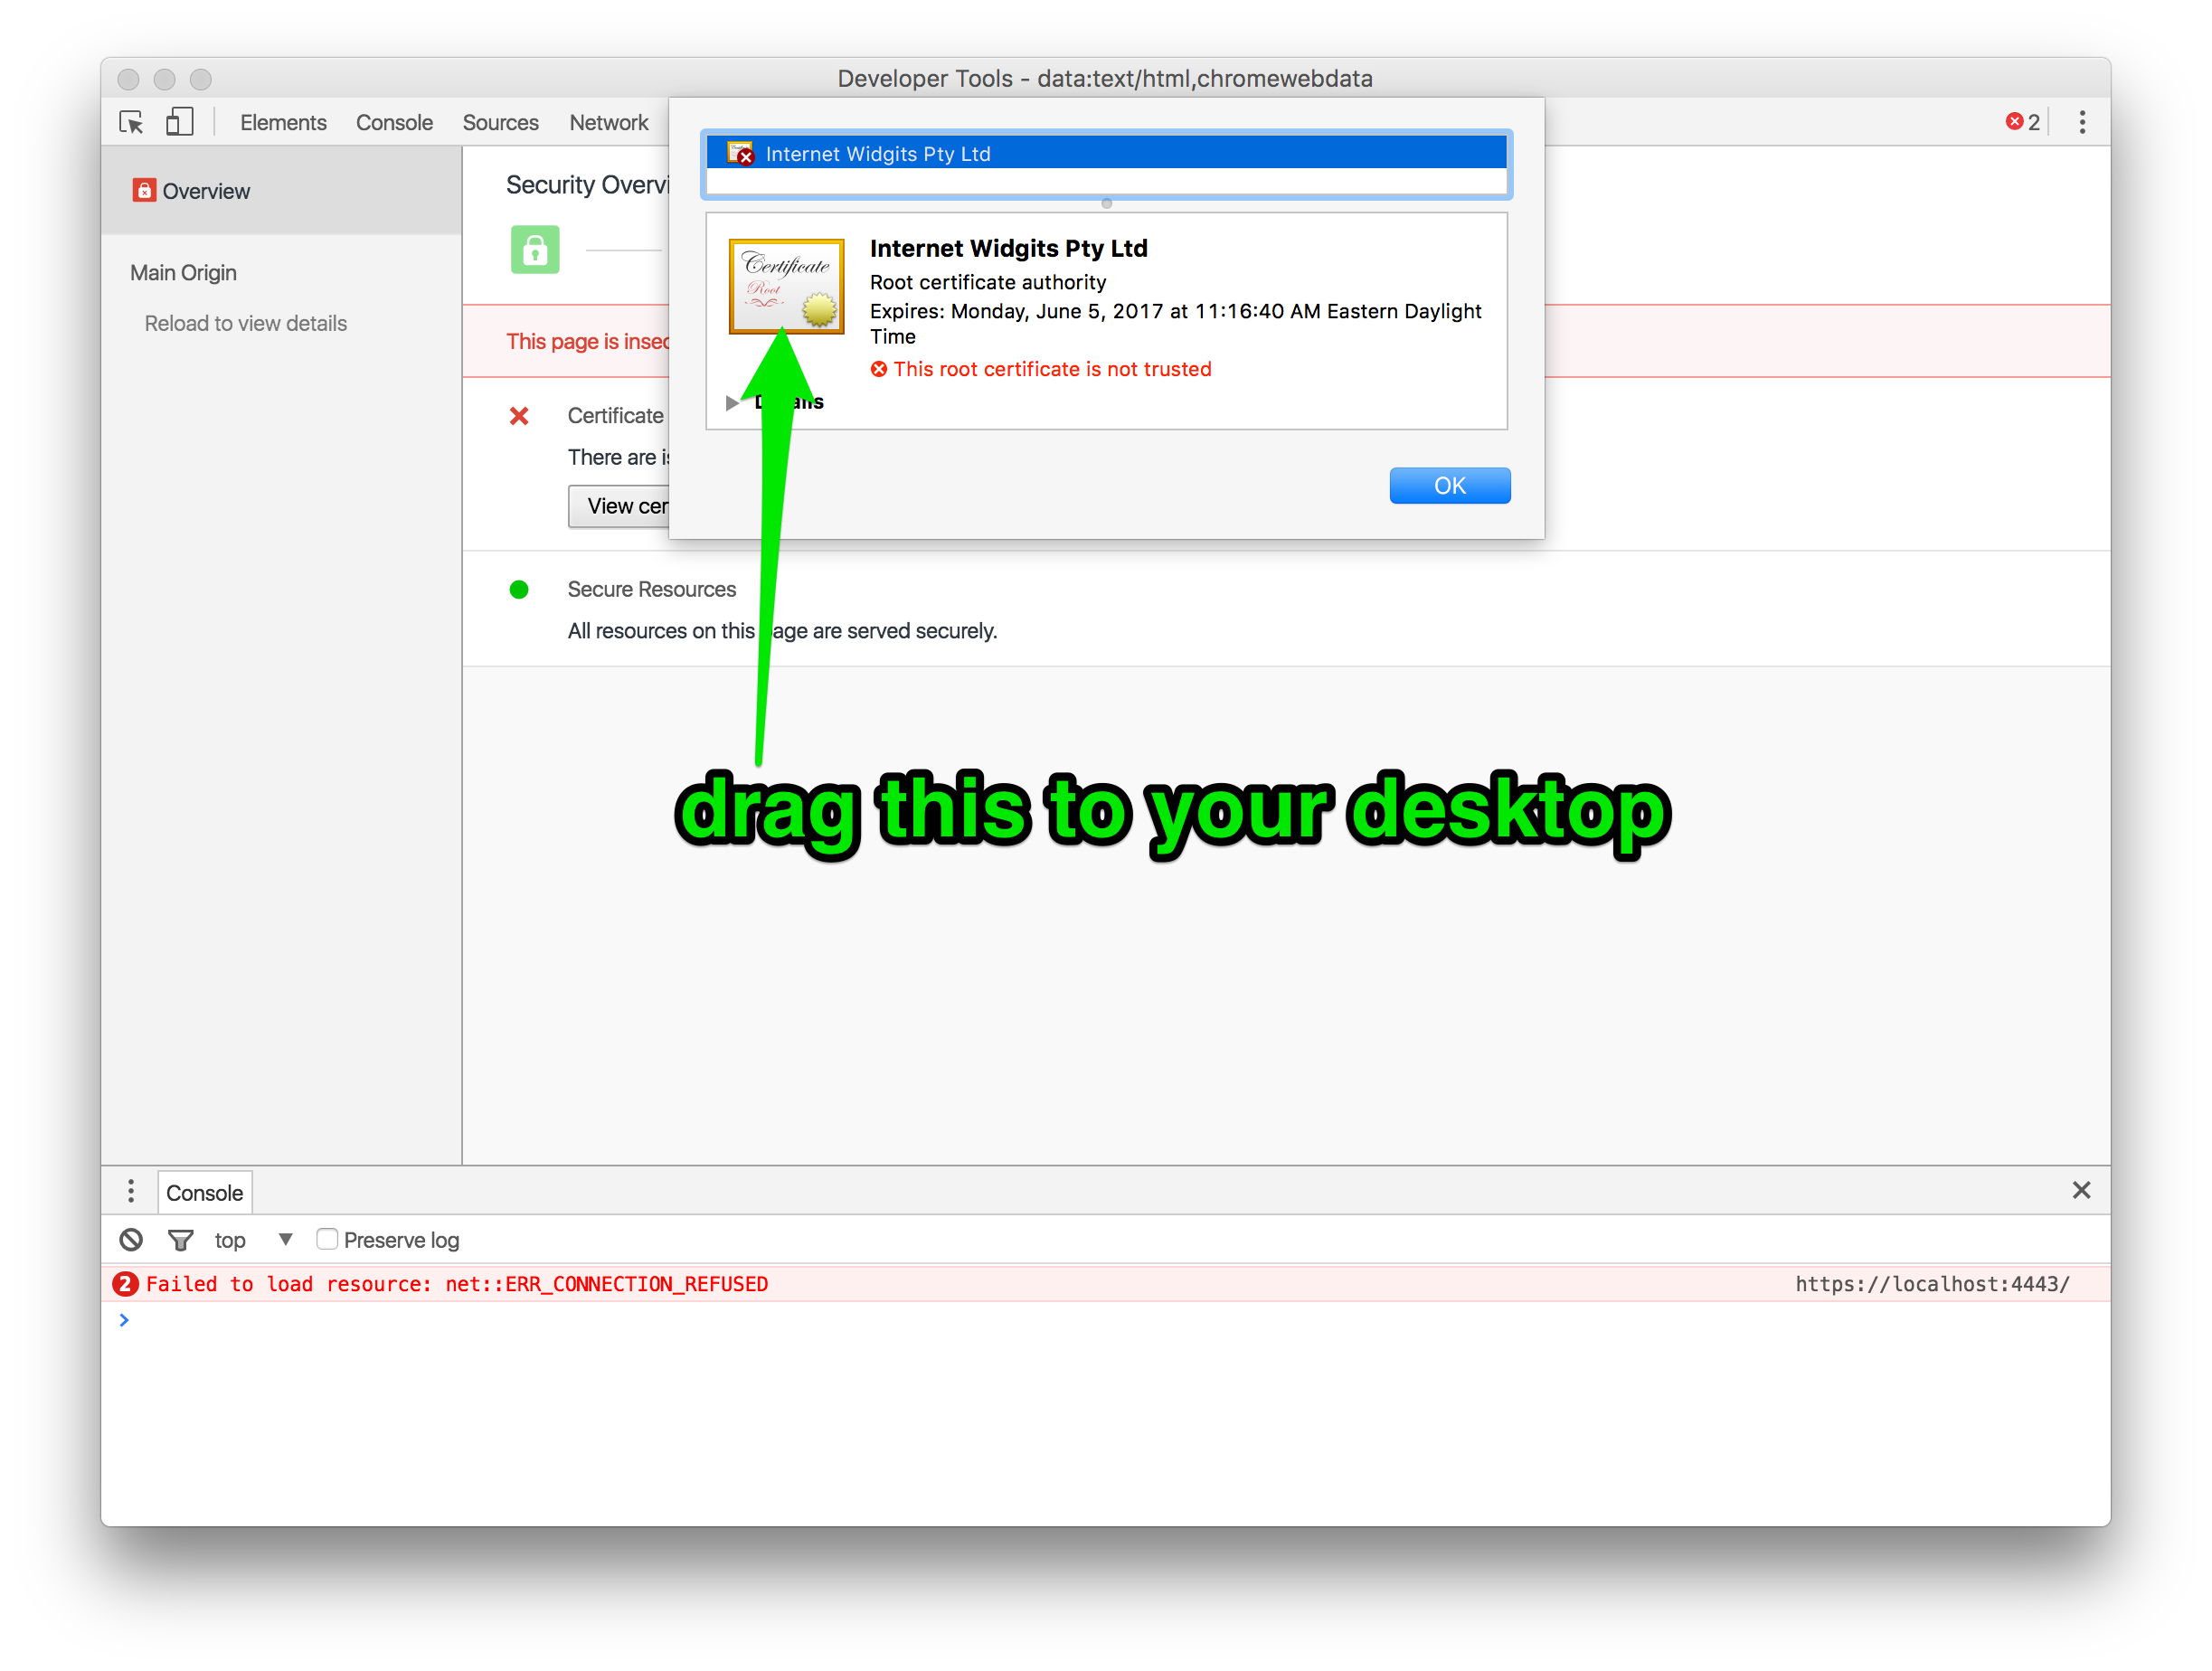
Step 1: Download the .cer file
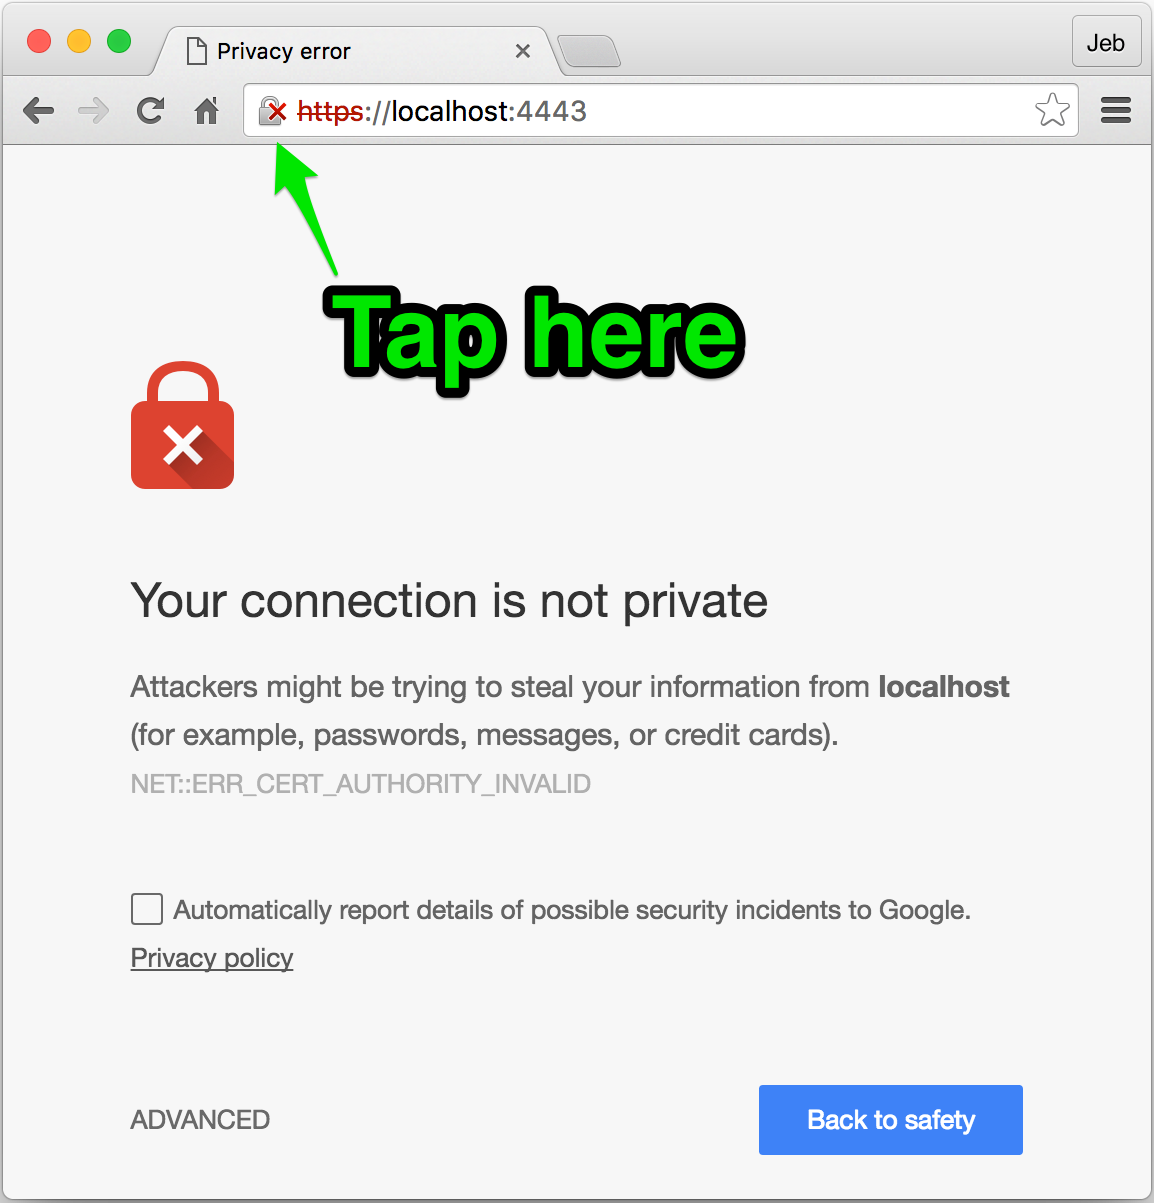
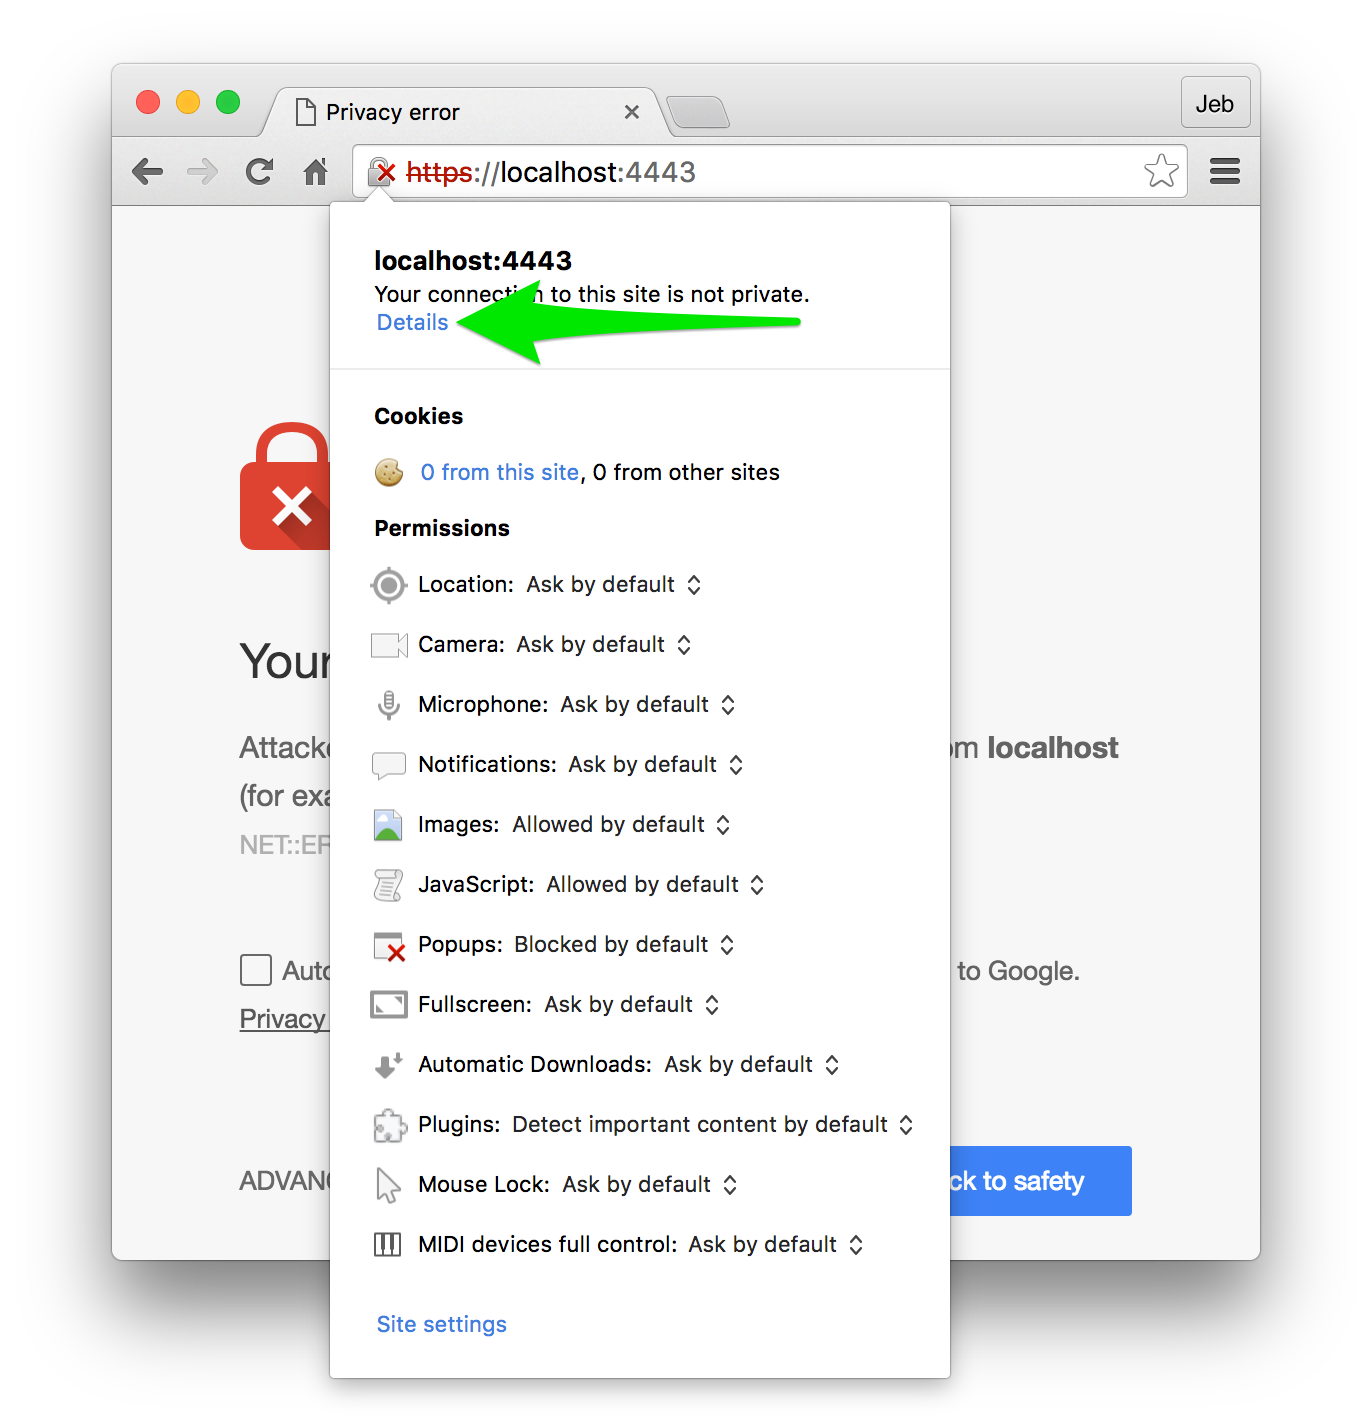
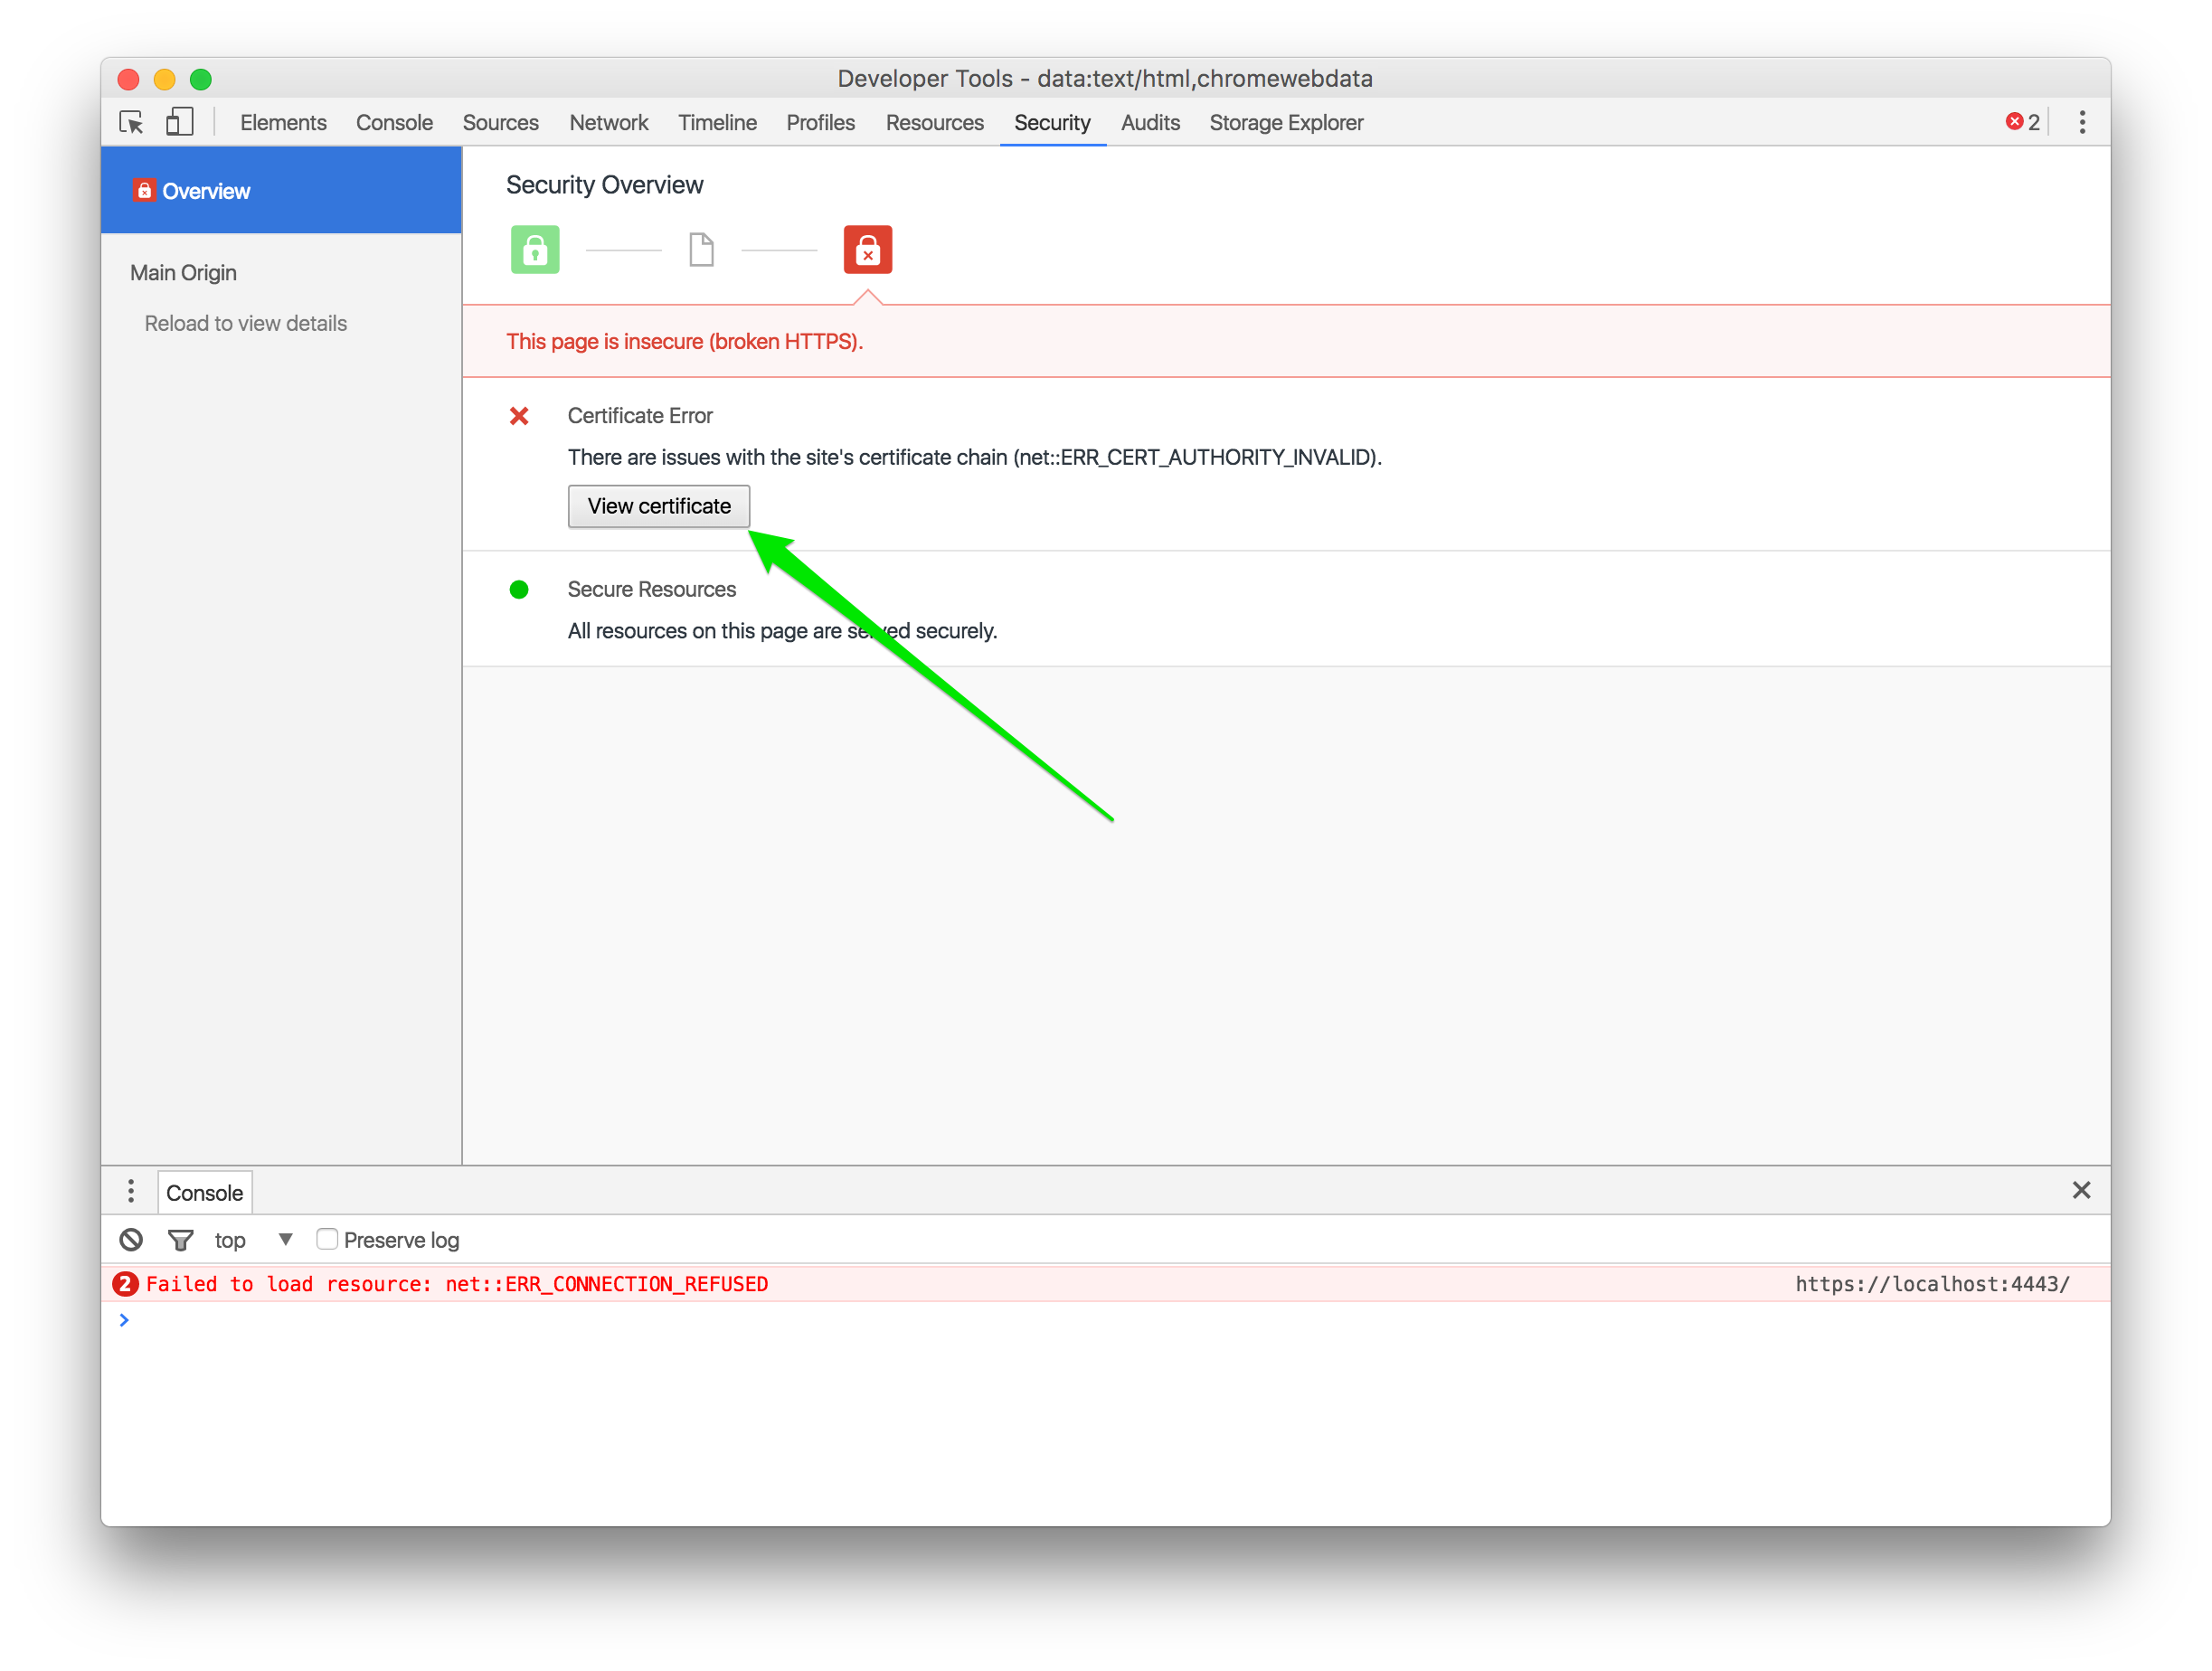
Open the URL in Chrome. You’ll see the broken lock icon in the address bar; click it. Your goal is to drag the certificate to somplace you can work with it; Chrome will give you a .cer file. (screenshots are small, click to embiggen)
Step 2: convert to .pem, using this in your terminal (and maybe spend a minute with “man openssl” to see what’s up here – we’re converting from one certificate file format to another)
openssl x509 -in server.cer -inform DER -out server.pem -outform PEM
Step 3: Drop the .pem in your app’s assets folder
Step 4a: Here’s how to add that custom cert to OkHttp3
Step 4b: OkHttp2 version
Run it again, and you’re good to go.